How to Build Your Own Uber-for-X App
just for the heck of it
- 🗓️ Date:
- ⏱️ Time to read:
Table of Contents
Note: Also published in Free Code Camp’s Medium Publication and freeCodeCamp News website.
Featured in Mybridge’s Top Ten NodeJS articles from October 2016 and Top Ten NodeJS articles of the year (v.2017)
Uber (if you haven't heard of it) is a handy app that allows you to catch a cab without walking around to look for one. And most importantly, it solves the problems of demand and supply that exists among cab drivers and cab seekers.
Today, there are a variety of startups focused around Uber-for-X apps. The thinking goes that, what Uber did for cabs, they can surely do for other supply/demand problems.
So during a hackathon, me and my friend decided to build a civilian-cop app. We figured it would be cool to build something that can help your friends in times of trouble!
After some thinking, these were the following features that we agreed upon:
- Civilians will be able to request the nearest police officer in their neighborhood at the press of a button. It’ll raise a ‘distress signal’ and alert nearby cops.
- Any police in the vicinity will immediately receive the user’s location and can choose to accept the request and solve the issue.
- A rating system.
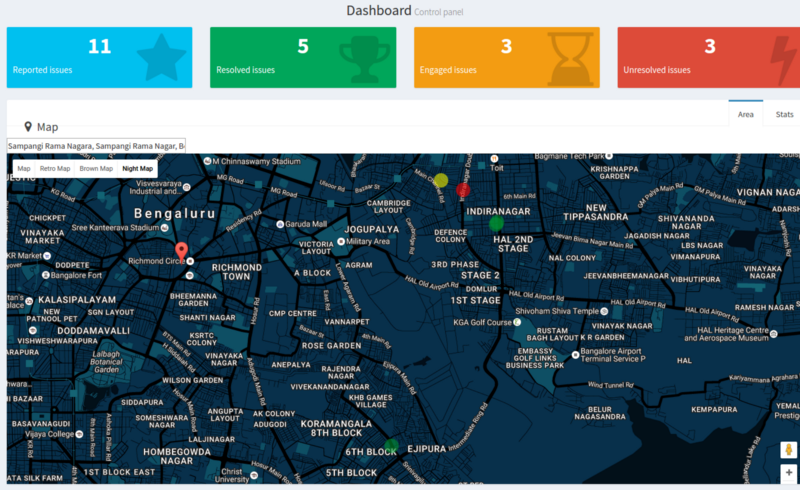
- Data collected from locations, crime cases solved, etc. can be visualized on a map, or graphed with some other cool user interface widgets.

In this tutorial, I’ll walk you through how we built it step-by-step, so that you’ll be able to build your own Uber-for-X app.
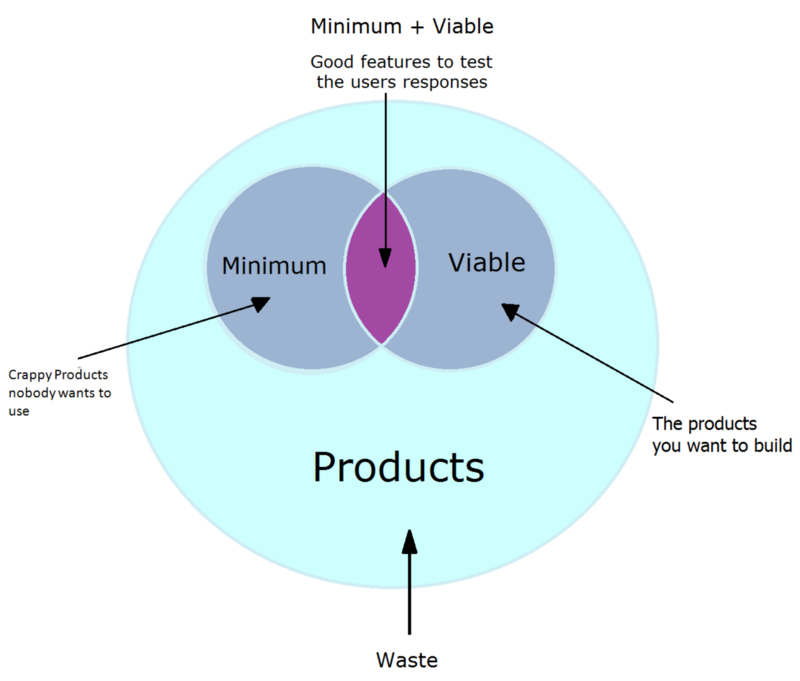
Building a minimal viable product
Before you begin, it would help to keep the following points in mind —
- This tutorial will not focus on how to build the app for scale. Or for performance. It’s basically designed so that you can have fun while building it, and how you can create something that mimics Uber. Think of this as though building a Minimum Viable Product to demonstrate your idea or startup, for a proof-of-concept.
- Since I’ve not worked on Android or iPhone apps much, I’ll be building this to work inside a browser.
Now, every app that you build has few important pieces:
- A client-facing app (that you see in a browser or on your phone screens)
- On the back end, a web-server to handle incoming requests from the client and to route information
- and a database to store and query information.
On the back end, you’ll use MongoDB as your database. it’s easier to learn, and offers a lot of querying techniques to handle geospatial information, which you’ll need for your app.
You’ll use NodeJS for your back end logic. Because it’s the same language for both front-end and back-end you wouldn’t have to worry about learning a new language or syntax.
On the front end, you’ll use HTML5, CSS3, JavaScript, and also the Google Maps and Places APIs.
I’m assuming that you already have a working knowledge of JavaScript, how promises work, and that you have at least a theoretical understanding of how NodeJS and MongoDB work.
Here are the contents of this tutorial :
Part 1 (what you’re reading right now):
- MongoDB Schema design
- Using the Mongo Shell to query information
- Connecting your database with your Node-Express server and writing RESTful APIs
Part 2:
- Using Socket.IO to enable the cop and civilian devices talk to each other
- Visualizing crime data on a heatmap
Let’s get started!
Developers have used MongoDB to build applications for quite some time now. It has a shallow learning curve, and its versatility allows developers to rapidly build applications with ease.
I personally like MongoDB because it allows me to quickly build prototypes for an idea to demonstrate proof-of-concept.
Before you begin, do make sure that you have MongoDB and NodeJS installed. At the time of writing this article, the current version of MongoDB is 4.0.
Database design & querying
Designing the Schema
Since you’re using MongoDB, everything that you save in it is a collection of documents.
Let’s create a collection called civilians for storing civilian information, and another collection called cops for storing cops info. So go ahead, open up your terminal and type mongo to fire up the mongo shell. Once it opens up, you can show existing databases in MongoDB by typing:
show dbs
You need a new database to store your app data. Let’s call it uberForX. To create a new database, you can type:
use userForX
The use command has the effect of creating a new database if it doesn’t exist. If it does, it tells Mongo to apply all following commands to this database.
Mongo stores documents in collections. Collections are like tables. To see existing collections, type:
show collections
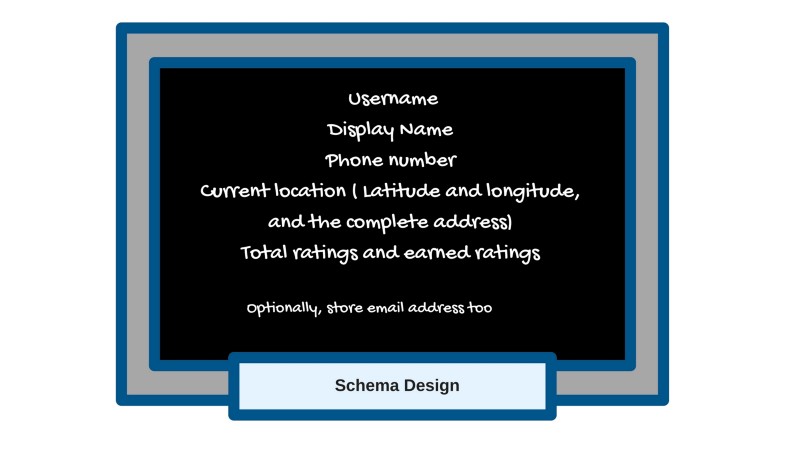
At some point when you feel like adding authentication methods and deploying your uber-for-x service, you might add in fields for storing email and password too.
Go to this link, and save the JSON data-set for cop related information.
To import data from this JSON file, type this in your terminal:
mongoimport --db uberForX --collection cops --drop --file ./path/to/jsonfile.json
Database Indexes
Now, before you start querying your database, you need to learn a little on how indexes in MongoDB (or any database for that matter) work.
An index is a special arrangement of data or data structure that allows you to query for information very efficiently. That way you can quickly retrieve results without having to scan across the entire database.
For example — let’s say you stored student related information in ascending order of their name in a book, which means that you have an index on the name field. That way, if you had to fetch information of a person named Tyrion, you can quickly locate his information without going through the rest of the students first.
But if you saved the same information in ascending order of their height, then querying information for a person using their name would become difficult. It could take lot of time, because now the students are not saved in order of their names, so you might have to scan and search across multiple rows.
But other kind of queries become possible. For example, fetch information of students whose heights lie between 4 and 5 feet. In which case Tyrion’s info could be retrieved quickly, because:

Different databases support different types of indexes. You could read on the complete list of indexes that supports MongoDB here.
So, now if you type this command:
db.cops.find().pretty()
which will return you all the documents that exist inside the cops collection — which is the entire list of cops. (The pretty function makes the output easier to read).
If you want to fetch information about a particular cop whose userId is 01, you can type out db.cops.find({userId: “01"}).pretty()
{
    "_id" : ObjectId("57e75af5eb1b8edc94406943"),
    "userId" : "01",
    "displayName" : "Officer 001",
    "phone" : "01",
    "email" : "officer001@uberforx.com",
    "earnedRatings" : 21,
    "totalRatings" : 25,
    "location" : {
        "type" : "Point",
        "address" : "Kalyan Nagar, Bengaluru, Karnataka, India",
        "coordinates" : [
            77.63997110000003,
            13.0280047
        ]
    }
}
The location field contains some values that might look a little weird to you - we need them for using MongoDB’s geospatial queries. So, onto our next section -
Using MongoDB geospatial indexes
Geospatial indexes allow you to store GeoJSON objects within documents. These objects can be of different types, such as Point, LineString and Polygon.
If you observe the output of your .find() command, you’ll notice that every location is an object which has the type field and the coordinates field within it. This is important, because if you store your GeoJSON object as a Point type, you can use the $near command to query for points within a certain proximity for a given longitude and latitude.
To use this, you need to create a 2dsphere index (which is a geospatial index) on the location field, and have a type field within it. The 2dsphere index supports queries that calculate geometries on an earth-like sphere. This includes MongoDB geospatial queries: queries for inclusion, intersection and proximity.
So type this in your mongo shell:
db.cops.createIndex({"location": "2dsphere"})
Now, to fetch documents from nearest to furthest from a given pair of co-ordinates, you need to issue a command with this syntax :
db.<collectionName>.find({
    <fieldName>: {
        $near: {
            $geometry: {
                type: "Point",
                coordinates: [<longitude>, <latitude>]
            },
            $minDistance: <distance in metres>,
            $maxDistance: <distance in metres>
        }
    }
}).pretty()
$minDistance and $maxDistance are optional fields. Now, to get all cops that are located within 2 kilometers from the latitude coordinate 12.9718915 and longitude coordinate 77.64115449999997, run this:
db.cops.find({
    location: {
        $near: {
            $geometry: {
                type: "Point",
                coordinates: [77.64115449999997, 12.9718915]
            },
            $maxDistance: 2000
        }
    }
}).pretty()
And that’s it — you’ll find a list of documents returned in the output!
Perfect! Now let’s try doing the same with a web server.
Building a web service
Download this package.json file and save it in the root of your project folder (make sure you named it package.json), and then in your terminal, cd to the directory that contains the file and run sudo npm install.
A brief explanation about some of the packages that you’re going to use:
- Express is a web framework for NodeJS. It has lots of APIs, utilities and middlewares in its ecosystem to help you build your application.
- body-parser parses incoming request bodies in a middleware before your handlers, available under the req.body property. You need this so you can handle POST requests.
- socket.io lets you use web sockets within your Node application.
- mongoose is a NodeJS middleware for MongoDB. It helps your Node app talk to your database.
- handlebars is a templating engine. You can use it to do parsing and apply conditional logic within html templates on the server before serving them to the client.
You’ll need them while building the rest of the application in the next tutorial. For now, I’ll focus on how to use the mongoose driver in your express app to execute queries.
Before you write code, it’ll be helpful to organize it first into different files/folders. In your project root directory, create a folder called db and add these two files:
- data-model.js: A file for defining your collections schema using the mongoose driver
- db-operations.js: We’ll write functions for database-related operations here. The functions would return promises, which will give the results of the operations when they’re resolved.
Next, create these files in your project root directory:
- routes.js: A file for writing your routes / API endpoints. The route handlers in this file will call the appropriate function in db-operations.js, get the results, and return them back to the client.
- app.js: This file will contain your web-server. You’ll also connect to your mongodb database and import your routes here.
Let’s begin by first creating our database model inside data-model.js for our cops collection.
const mongoose = require('mongoose');

const copSchema = mongoose.Schema({
	userId: { type: String, unique: true, required: true, trim: true },
	displayName: { type: String, trim: true },
	phone: { type: String },
	email: { type: String, unique: true },
	earnedRatings: { type: Number },
	totalRatings: { type: Number },
	location: {
		type: {
			type: String,
			required: true,
			default: "Point"
		},
		address: { type: String },
		coordinates: [ Number ],
	}
});

copSchema.index({"location": "2dsphere", userId: 1});

/**
 * Represents a Cop.
 * @constructor
 */
const Cop = mongoose.model('Cop', copSchema);
exports.Cop = Cop;
In the above code, we defined a schema that describes the information related to a cop. Next we create a Cop model that uses this schema, and export it. The mongoose driver automatically creates a collection by lowercasing and pluralizing your model name - in this case, the actual collection name will be cops.
Next, add this code to db-operations.js:
const dataModel = require('./data-model');
const Cop = dataModel.Cop;

function fetchNearestCops(coordinates, maxDistance) {
    return Cop.find({
        location: {
            $near: {
                $geometry: {
                    type: "Point",
                    coordinates: coordinates
                },
                $maxDistance: maxDistance
            }
        }
    })
    .exec()
    .catch(error => {
        console.log(error);
    });
}

exports.fetchNearestCops = fetchNearestCops;
You import the Cop model, and then define a function that takes in two arguments - an array (pair of coordinates), and a maxDistance value. You then write the geospatial query on your Cop model like before, and return the response back.
The next step is to import and use that function in your routes.js. For this to work, you’ll have to pass the coordinates as query strings in your request.
const express = require('express');
const router = express.Router();
const dbOperations = require('./db/db-operations');

router.get('/cops', async (req, res) => {
    /*
        extract the latitude and longitude info from the request query parameters.
        Then, fetch the nearest cops using MongoDB's geospatial queries and return it back to the client.
    */
    const latitude = Number(req.query.lat);
    const longitude = Number(req.query.lng);
    const nearestCops = await dbOperations.fetchNearestCops([longitude, latitude], 2000);

    res.json({
        cops: nearestCops
    });
});
Now that you have defined your endpoint, the final step will be to write the web-server inside app.js, import this route, and connect to your mongodb instance:
And that’s it! Run node app.js from your terminal, then open your browser and hit http://localhost:8000/cops?lat=12.9718915&&lng=77.64115449999997.
Depending on the query strings that you passed, you should either get a JSON response containing an empty array or an array containing cop data!
Next Steps
This is the end of Part 1. In Part 2, you’ll take it up a notch and try to send a distress signal to nearby cops. Then you’ll figure out how a cop could respond back to the signal using socket.io. You’ll also see how to display the location of the civilian on a map.
Source code
Here’s the Github repository